[root@k8s-master01 ~]# helm repo list NAME URL stable http://mirror.azure.cn/kubernetes/charts/
5.1.4 更新仓库
1 2 3 4
[root@k8s-master01 ~]# helm repo update Hang tight while we grab the latest from your chart repositories... ...Successfully got an update from the "stable" chart repository Update Complete. ⎈Happy Helming!⎈
再查看
1 2 3
[root@master ~]# helm repo list NAME URL stable http://mirror.azure.cn/kubernetes/charts/
5.1.5 删除仓库
1 2
[root@k8s-master01 ~]# helm repo remove stable "stable" has been removed from your repositories
1 2
[root@k8s-master01 ~]# helm repo list Error: no repositories to show
5.2 查看charts
使用helm search repo 关键字可以查看相关charts
1 2 3 4 5 6 7 8 9 10 11 12 13 14 15 16 17 18
[root@k8s-master01 ~]# helm search repo stable NAME CHART VERSION APP VERSION DESCRIPTION stable/acs-engine-autoscaler 2.2.2 2.1.1 DEPRECATED Scales worker nodes within agent pools stable/aerospike 0.3.5 v4.5.0.5 DEPRECATED A Helm chart for Aerospike in Kubern... stable/airflow 7.13.3 1.10.12 DEPRECATED - please use: https://github.com/air... stable/ambassador 5.3.2 0.86.1 DEPRECATED A Helm chart for Datawire Ambassador stable/anchore-engine 1.7.0 0.7.3 Anchore container analysis and policy evaluatio... stable/apm-server 2.1.7 7.0.0 DEPRECATED The server receives data from the El... stable/ark 4.2.2 0.10.2 DEPRECATED A Helm chart for ark stable/artifactory 7.3.2 6.1.0 DEPRECATED Universal Repository Manager support... stable/artifactory-ha 0.4.2 6.2.0 DEPRECATED Universal Repository Manager support... stable/atlantis 3.12.4 v0.14.0 DEPRECATED A Helm chart for Atlantis https://ww... stable/auditbeat 1.1.2 6.7.0 DEPRECATED A lightweight shipper to audit the a... stable/aws-cluster-autoscaler 0.3.4 DEPRECATED Scales worker nodes within autoscali... stable/aws-iam-authenticator 0.1.5 1.0 DEPRECATED A Helm chart for aws-iam-authenticator stable/bitcoind 1.0.2 0.17.1 DEPRECATED Bitcoin is an innovative payment net... stable/bookstack 1.2.4 0.27.5 DEPRECATED BookStack is a simple, self-hosted, ... ......
1 2 3 4 5 6
[root@k8s-master01 ~]# helm search repo nginx NAME CHART VERSION APP VERSION DESCRIPTION stable/nginx-ingress 1.41.3 v0.34.1 DEPRECATED! An nginx Ingress controller that us... stable/nginx-ldapauth-proxy 0.1.6 1.13.5 DEPRECATED - nginx proxy with ldapauth stable/nginx-lego 0.3.1 Chart for nginx-ingress-controller and kube-lego stable/gcloud-endpoints 0.1.2 1 DEPRECATED Develop, deploy, protect and monitor...
1 2 3
[root@k8s-master01 ~]# helm search repo tomcat NAME CHART VERSION APP VERSION DESCRIPTION stable/tomcat 0.4.3 7.0 DEPRECATED - Deploy a basic tomcat application ...
5.3 部署应用 MySQL
环境说明:k8s集群中存在storageclass:nfs-client
我们现在安装一个 mysql 应用:
1 2 3
[root@k8s-master01 ~]# helm search repo mysql NAME CHART VERSION APP VERSION DESCRIPTION stable/mysql 1.6.9 5.7.30 DEPRECATED - Fast, reliable, scalable, and easy...
部署过程输出的信息: NAME: mysql-1658996042 LAST DEPLOYED: Thu Jul 28 16:14:03 2022 NAMESPACE: default STATUS: deployed REVISION: 1 NOTES: MySQL can be accessed via port 3306 on the following DNS name from within your cluster: mysql-1658996042.default.svc.cluster.local
[root@k8s-master01 ~]# kubectl get pods NAME READY STATUS RESTARTS AGE mysql-1658996042-755f5f64f6-j5s67 1/1 Running 0 82s
1 2 3
[root@k8s-master01 ~]# kubectl get pvc NAME STATUS VOLUME CAPACITY ACCESS MODES STORAGECLASS AGE mysql-1658996042 Bound pvc-7fcb894e-5b8c-4f3e-945d-21b60b9309e5 8Gi RWO nfs-client 93s
1 2 3
[root@k8s-master01 ~]# kubectl get pv NAME CAPACITY ACCESS MODES RECLAIM POLICY STATUS CLAIM STORAGECLASS REASON AGE pvc-7fcb894e-5b8c-4f3e-945d-21b60b9309e5 8Gi RWO Delete Bound default/mysql-1658996042 nfs-client 97s
root@mysql-1658996042-755f5f64f6-j5s67:/# mysql -uroot -ptest123 mysql: [Warning] Using a password on the command line interface can be insecure. Welcome to the MySQL monitor. Commands end with ; or \g. Your MySQL connection id is 547 Server version: 5.7.30 MySQL Community Server (GPL)
Copyright (c) 2000, 2020, Oracle and/or its affiliates. All rights reserved.
Oracle is a registered trademark of Oracle Corporation and/or its affiliates. Other names may be trademarks of their respective owners.
Type 'help;' or '\h' for help. Type '\c' to clear the current input statement. mysql> show databases; +--------------------+ | Database | +--------------------+ | information_schema | | mysql | | performance_schema | | sys | +--------------------+ 4 rows in set (0.01 sec)
5.4 查看chart资源
1 2 3 4 5 6 7 8 9 10 11 12
[root@k8s-master01 ~]# kubectl get all -l release=mysql-1658996042 NAME READY STATUS RESTARTS AGE pod/mysql-1658996042-755f5f64f6-j5s67 1/1 Running 0 72m
NAME TYPE CLUSTER-IP EXTERNAL-IP PORT(S) AGE service/mysql-1658996042 ClusterIP 10.96.2.136 <none> 3306/TCP 72m
NAME READY UP-TO-DATE AVAILABLE AGE deployment.apps/mysql-1658996042 1/1 1 1 72m
NAME DESIRED CURRENT READY AGE replicaset.apps/mysql-1658996042-755f5f64f6 1 1 1 72m
我们也可以 helm show chart 命令来了解 MySQL 这个 chart 包的一些特性:
1 2 3 4 5 6 7 8 9 10 11 12 13 14 15 16 17
[root@k8s-master01 ~]# helm show chart stable/mysql apiVersion: v1 appVersion: 5.7.30 deprecated: true description: DEPRECATED - Fast, reliable, scalable, and easy to use open-source relational database system. home: https://www.mysql.com/ icon: https://www.mysql.com/common/logos/logo-mysql-170x115.png keywords: - mysql - database - sql name: mysql sources: - https://github.com/kubernetes/charts - https://github.com/docker-library/mysql version: 1.6.9
如果想要了解更多信息,可以用 helm show all 命令:
1 2
[root@k8s-master01 ~]# helm show all stable/mysql ......
[root@k8s-master01 ~]# helm ls NAME NAMESPACE REVISION UPDATED STATUS CHART APP VERSION mysql-1605192239 default 1 ......... deployed mysql-1.6.9 5.7.30
[root@k8s-master01 ~]# helm ls -a NAME NAMESPACE REVISION UPDATED STATUS CHART APP VERSION mysql-1605192239 default 1 ........ uninstalled mysql-1.6.9 5.7.30 状态为uninstalled
[root@k8s-master01 ~]# helm rollback mysql-1605192239 1 Rollback was a success! Happy Helming!
[root@k8s-master01 ~]# helm ls NAME NAMESPACE REVISION UPDATED STATUS CHART APP VERSION mysql-1605192239 default 2 ......... deployed mysql-1.6.9 5.7.30 rollback后,又回到deployed状态
NAME: mysql LAST DEPLOYED: Fri Jul 29 14:07:17 2022 NAMESPACE: default STATUS: deployed REVISION: 1 NOTES: MySQL can be accessed via port 3306 on the following DNS name from within your cluster: mysql.default.svc.cluster.local
To get your root password run:
MYSQL_ROOT_PASSWORD=$(kubectl get secret --namespace default mysql -o jsonpath="{.data.mysql-root-password}" | base64 --decode; echo)
To connect to your database:
1. Run an Ubuntu pod that you can use as a client:
kubectl run -i --tty ubuntu --image=ubuntu:16.04 --restart=Never -- bash -il
3. Connect using the mysql cli, then provide your password: $ mysql -h mysql -p
To connect to your database directly from outside the K8s cluster: MYSQL_HOST=127.0.0.1 MYSQL_PORT=3306
# Execute the following command to route the connection: kubectl port-forward svc/mysql 3306
mysql -h ${MYSQL_HOST} -P${MYSQL_PORT} -u root -p${MYSQL_ROOT_PASSWORD}
3, 查看覆盖的参数
1 2 3 4 5 6
[root@master ~]# helm get values mysql USER-SUPPLIED VALUES: mysqlDatabase: helm persistence: enabled: true storageClass: nfs-client
4, 查看部署的相关资源
1 2 3 4 5 6 7 8 9 10 11 12
[root@k8s-master01 helmdir]# kubectl get all -l release=mysql NAME READY STATUS RESTARTS AGE pod/mysql-855976764d-npvgm 1/1 Running 0 40m
NAME TYPE CLUSTER-IP EXTERNAL-IP PORT(S) AGE service/mysql ClusterIP 10.96.0.84 <none> 3306/TCP 40m
NAME READY UP-TO-DATE AVAILABLE AGE deployment.apps/mysql 1/1 1 1 40m
NAME DESIRED CURRENT READY AGE replicaset.apps/mysql-855976764d 1 1 1 40m
5, 查看pod的IP
1 2 3 4 5
[root@k8s-master01 helmdir]# kubectl get pods -o wide -l release=mysql NAME READY STATUS RESTARTS AGE IP NODE NOMINATED NODE READINESS GATES mysql-855976764d-npvgm 1/1 Running 0 41m 100.119.84.71 k8s-worker01 <none> <none>
得到pod的IP为100.119.84.71
6, 安装mysql客户端并连接测试
1
[root@k8s-master01 ~]# yum install mariadb -y
1
2
[root@k8s-master01 ~]# kubectl get secret --namespace default mysql -o jsonpath="{.data.mysql-root-password}" | base64 --decode; echo wL2SD0RCsT
1 2 3 4
[root@k8s-master01 ~]# kubectl get svc NAME TYPE CLUSTER-IP EXTERNAL-IP PORT(S) AGE kubernetes ClusterIP 10.96.0.1 <none> 443/TCP 27h mysql ClusterIP 10.96.0.84 <none> 3306/TCP 5m21s
[root@k8s-master01 helmdir]# kubectl get deployment mysql -o wide NAME READY UP-TO-DATE AVAILABLE AGE CONTAINERS IMAGES SELECTOR mysql 1/1 1 1 54m mysql mysql:5.7.30 app=mysql,release=mysql images版本为5.7.30
WARNING: This chart is deprecated Release "mysql" has been upgraded. Happy Helming! NAME: mysql LAST DEPLOYED: Fri Jul 29 15:04:20 2022 NAMESPACE: default STATUS: deployed REVISION: 2 NOTES: MySQL can be accessed via port 3306 on the following DNS name from within your cluster: mysql.default.svc.cluster.local
To get your root password run:
MYSQL_ROOT_PASSWORD=$(kubectl get secret --namespace default mysql -o jsonpath="{.data.mysql-root-password}" | base64 --decode; echo)
To connect to your database:
1. Run an Ubuntu pod that you can use as a client:
kubectl run -i --tty ubuntu --image=ubuntu:16.04 --restart=Never -- bash -il
3. Connect using the mysql cli, then provide your password: $ mysql -h mysql -p
To connect to your database directly from outside the K8s cluster: MYSQL_HOST=127.0.0.1 MYSQL_PORT=3306
# Execute the following command to route the connection: kubectl port-forward svc/mysql 3306
mysql -h ${MYSQL_HOST} -P${MYSQL_PORT} -u root -p${MYSQL_ROOT_PASSWORD} 注意:更新过程中,密码会被更新,但是实际使用中,密码并未更新。
3, 升级后确认版本
1 2 3
[root@k8s-master01 helmdir]# kubectl get deployment mysql -o wide NAME READY UP-TO-DATE AVAILABLE AGE CONTAINERS IMAGES SELECTOR mysql 1/1 1 1 58m mysql mysql:5.7.31 app=mysql,release=mysql
1 2 3
[root@k8s-master01 helmdir]# kubectl get pods -o wide NAME READY STATUS RESTARTS AGE IP NODE NOMINATED NODE READINESS GATES mysql-6f57f64c9d-sc72v 1/1 Running 0 2m20s 100.119.84.72 k8s-worker01 <none> <none>
[root@k8s-master01 helmdir]# helm history mysql REVISION UPDATED STATUS CHART APP VERSION DESCRIPTION 1 Fri Jul 29 14:07:17 2022 superseded mysql-1.6.9 5.7.30 Install complete 2 Fri Jul 29 15:04:20 2022 deployed mysql-1.6.9 5.7.30 Upgrade complete
1 2
[root@k8s-master01 helmdir]# helm rollback mysql 1 Rollback was a success! Happy Helming!
5, 验证
1 2 3
[root@k8s-master01 helmdir]# kubectl get deployment mysql -o wide NAME READY UP-TO-DATE AVAILABLE AGE CONTAINERS IMAGES SELECTOR mysql 1/1 1 1 65m mysql mysql:5.7.30 app=mysql,release=mysql
1 2 3 4 5
[root@k8s-master01 helmdir]# helm history mysql REVISION UPDATED STATUS CHART APP VERSION DESCRIPTION 1 Fri Jul 29 14:07:17 2022 superseded mysql-1.6.9 5.7.30 Install complete 2 Fri Jul 29 15:04:20 2022 superseded mysql-1.6.9 5.7.30 Upgrade complete 3 Fri Jul 29 15:12:24 2022 deployed mysql-1.6.9 5.7.30 Rollback to 1
[root@k8s-master01 nginx]# curl http://10.96.2.120 <!DOCTYPE html> <html> <head> <title>Welcome to nginx!</title> <style> html { color-scheme: light dark; } body { width: 35em; margin: 0 auto; font-family: Tahoma, Verdana, Arial, sans-serif; } </style> </head> <body> <h1>Welcome to nginx!</h1> <p>If you see this page, the nginx web server is successfully installed and working. Further configuration is required.</p>
<p>For online documentation and support please refer to <a href="http://nginx.org/">nginx.org</a>.<br/> Commercial support is available at <a href="http://nginx.com/">nginx.com</a>.</p>
<p><em>Thank you for using nginx.</em></p> </body> </html>
[root@k8s-master01 nginx]# helm install helm-nginx-new /helm/nginx NAME: helm-nginx-new LAST DEPLOYED: Sat Jul 30 09:44:21 2022 NAMESPACE: default STATUS: deployed REVISION: 1 TEST SUITE: None
1 2 3 4
[root@k8s-master01 nginx]# kubectl get pods NAME READY STATUS RESTARTS AGE helm-nginx-65f57fb758-pcmkg 1/1 Running 0 38s helm-nginx-65f57fb758-rmmv5 1/1 Running 0 38s
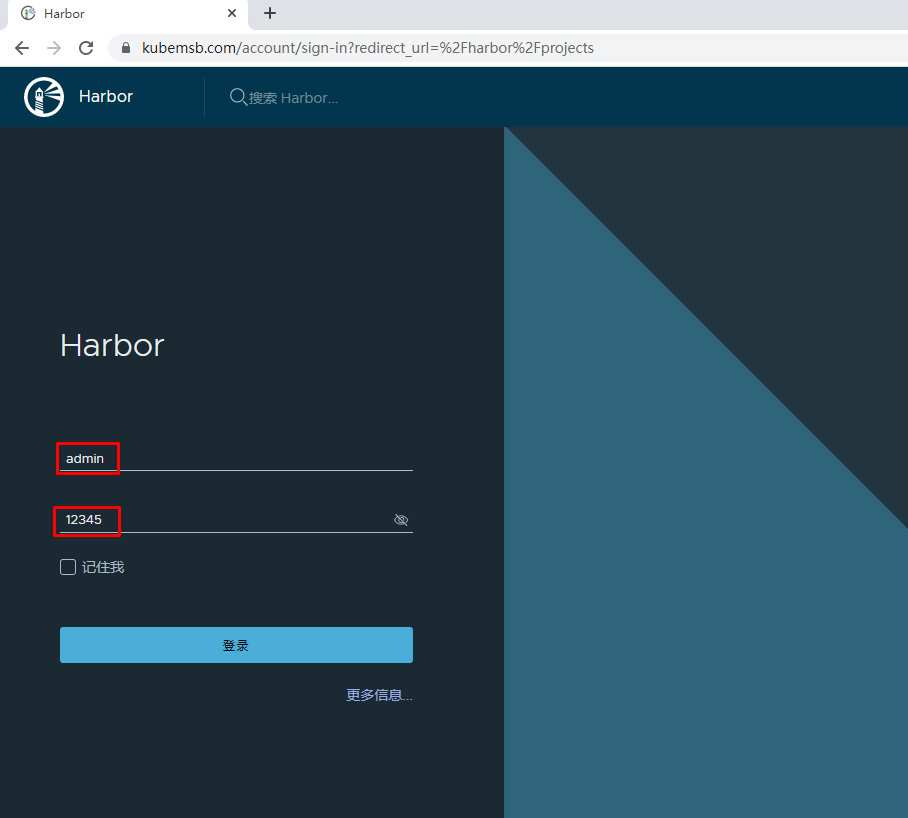
# vim harbor.yaml # Configuration file of Harbor # The IP address or hostname to access admin UI and registry service. # DO NOT use localhost or 127.0.0.1, because Harbor needs to be accessed by external clients. hostname: www.kubemsb.com # http related config http: # port for http, default is 80. If https enabled, this port will redirect to https port port: 80 # https related config https: # https port for harbor, default is 443 port: 443 # The path of cert and key files for nginx certificate: /home/harbor/6864844_kubemsb.com.pem private_key: /home/harbor/6864844_kubemsb.com.key # # Uncomment following will enable tls communication between all harbor components # internal_tls: # # set enabled to true means internal tls is enabled # enabled: true # # put your cert and key files on dir # dir: /etc/harbor/tls/internal # Uncomment external_url if you want to enable external proxy # And when it enabled the hostname will no longer used # external_url: https://reg.mydomain.com:8433 # The initial password of Harbor admin # It only works in first time to install harbor # Remember Change the admin password from UI after launching Harbor. harbor_admin_password: 12345 # Harbor DB configuration
1
[root@nfsserver harbor]# ./prepare
1
2
3
4
5
6
[root@nfsserver harbor]# ./install.sh -h
Note: Please set hostname and other necessary attributes in harbor.yml first. DO NOT use localhost or 127.0.0.1 for hostname, because Harbor needs to be accessed by external clients. Please set --with-notary if needs enable Notary in Harbor, and set ui_url_protocol/ssl_cert/ssl_cert_key in harbor.yml bacause notary must run under https. Please set --with-trivy if needs enable Trivy in Harbor Please set --with-chartmuseum if needs enable Chartmuseum in Harbor
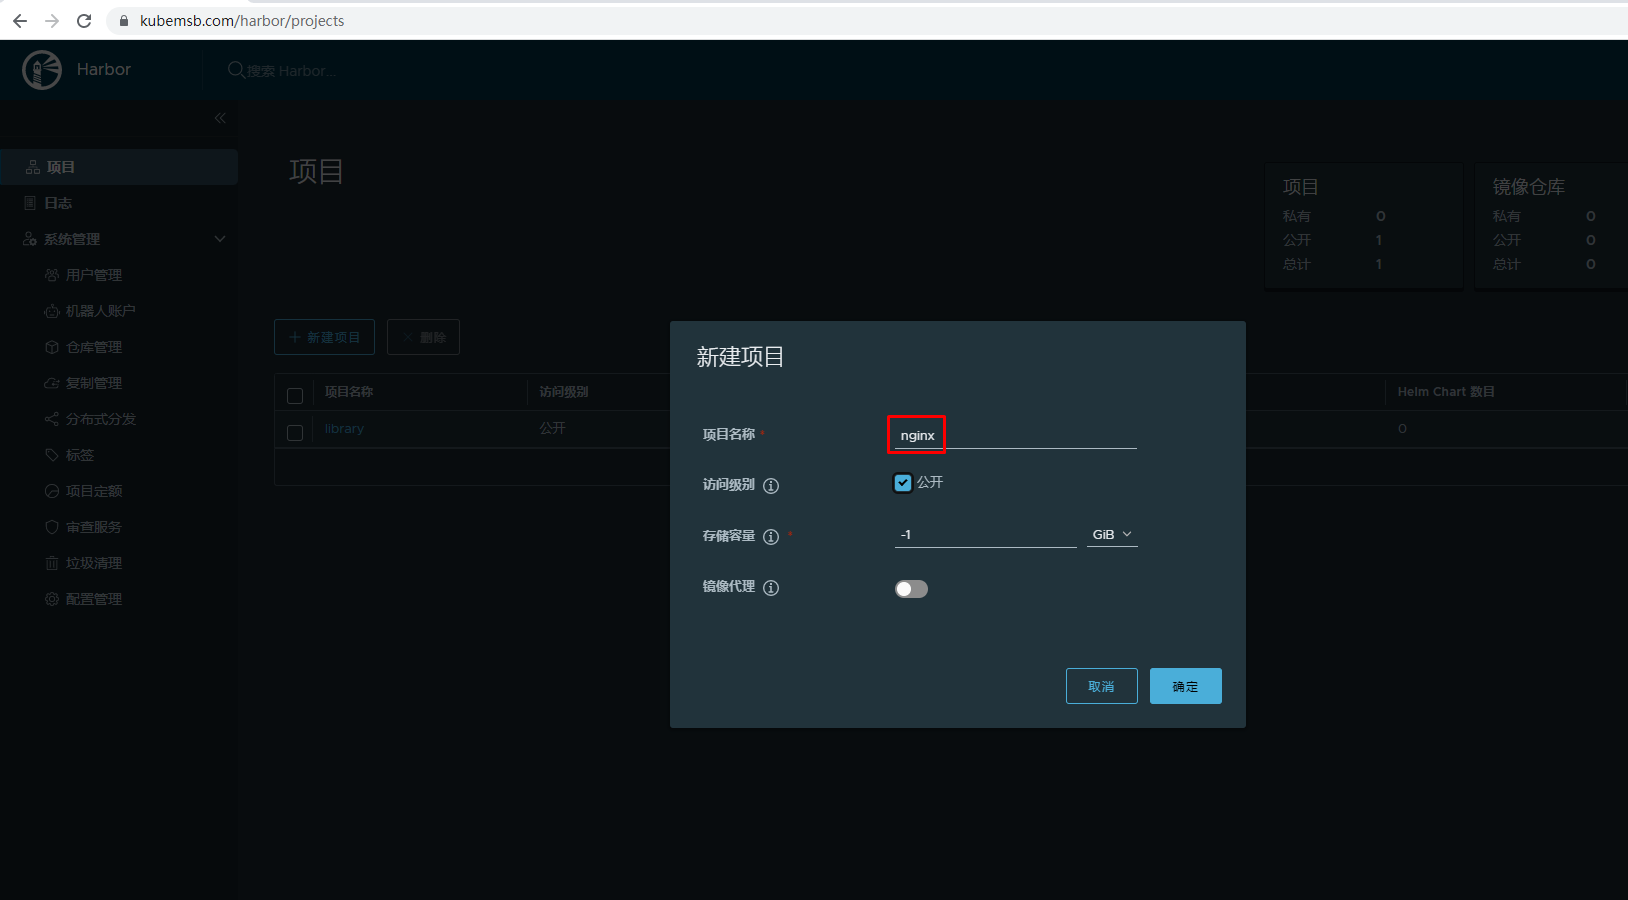
[root@k8s-master01 ~]# helm repo add harborhelm https://www.kubemsb.com/chartrepo/nginx --username admin --password 12345 "harborhelm" has been added to your repositories
1 2 3 4 5
[root@k8s-master01 ~]# helm repo list NAME URL micosoft http://mirror.azure.cn/kubernetes/charts/ prometheus-community https://prometheus-community.github.io/helm-charts harborhelm https://www.kubemsb.com/chartrepo/nginx
1
2
3
[root@k8s-master01 ~]# helm search repo helm-nginx NAME CHART VERSION APP VERSION DESCRIPTION harborhelm/helm-nginx 1.0.0
1 2 3 4 5 6 7
[root@k8s-master01 ~]# helm install helm-nginx-test harborhelm/helm-nginx NAME: helm-nginx-test LAST DEPLOYED: Sat Jul 30 20:32:05 2022 NAMESPACE: default STATUS: deployed REVISION: 1 TEST SUITE: None
1
2
3
[root@k8s-master01 ~]# helm ls NAME NAMESPACE REVISION UPDATED STATUS CHART APP VERSION helm-nginx-test default 1 2022-07-30 20:32:05.138180077 +0800 CST deployed helm-nginx-1.0.0
1 2 3 4
[root@k8s-master01 ~]# kubectl get pods NAME READY STATUS RESTARTS AGE helm-nginx-65f57fb758-2hkl6 1/1 Running 0 8s helm-nginx-65f57fb758-v427b 1/1 Running 0 8s
[root@k8s-master01 nginx]# ls /root/.local/share/helm/plugins/helm-push/bin/ . .. helm-cm-push
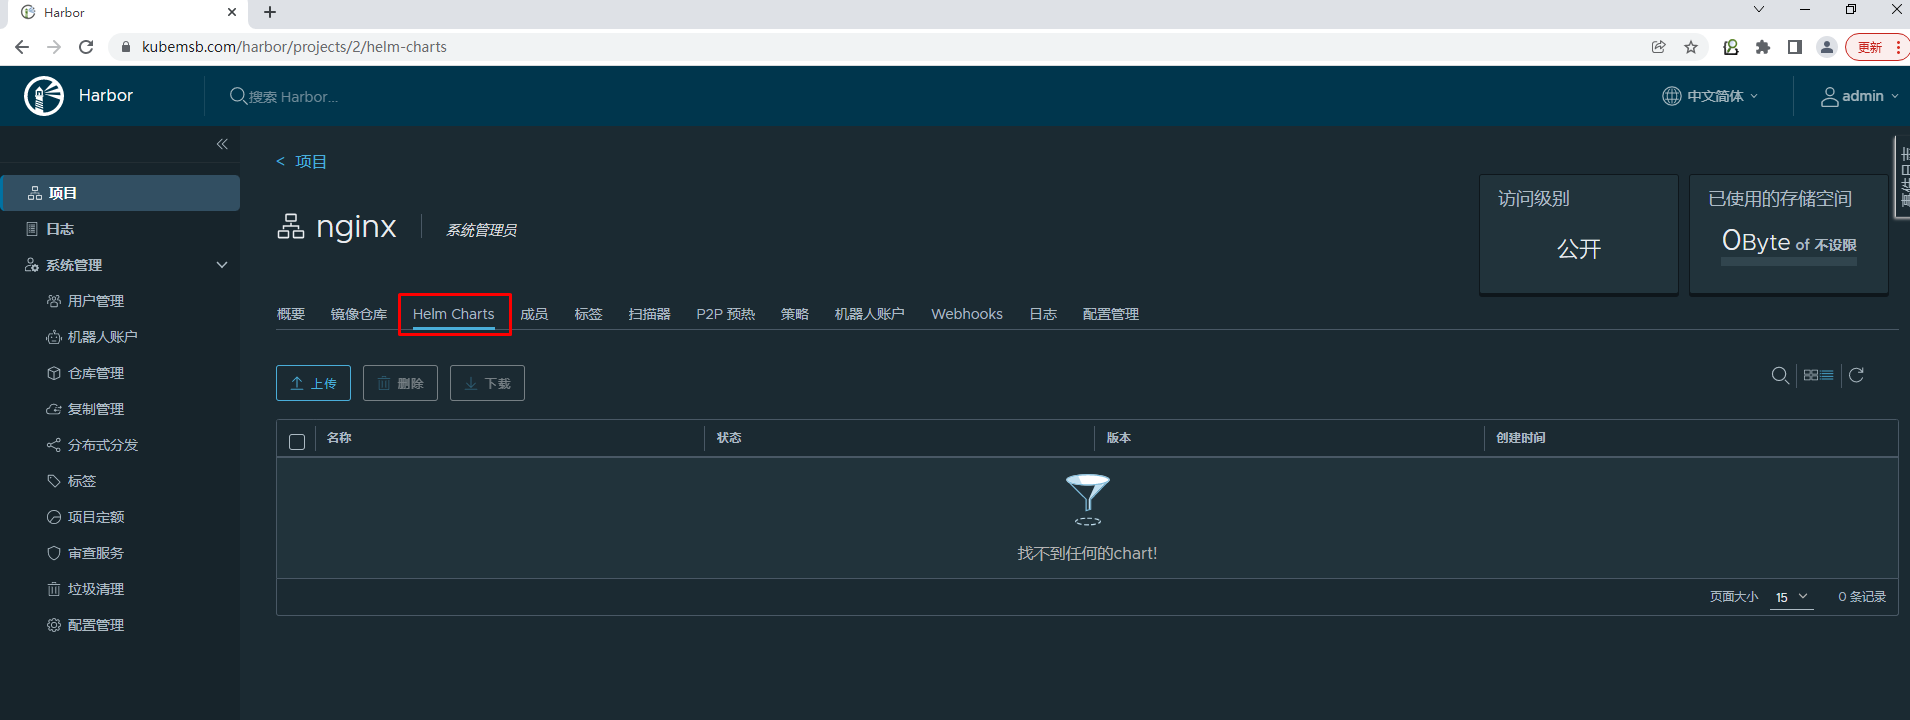
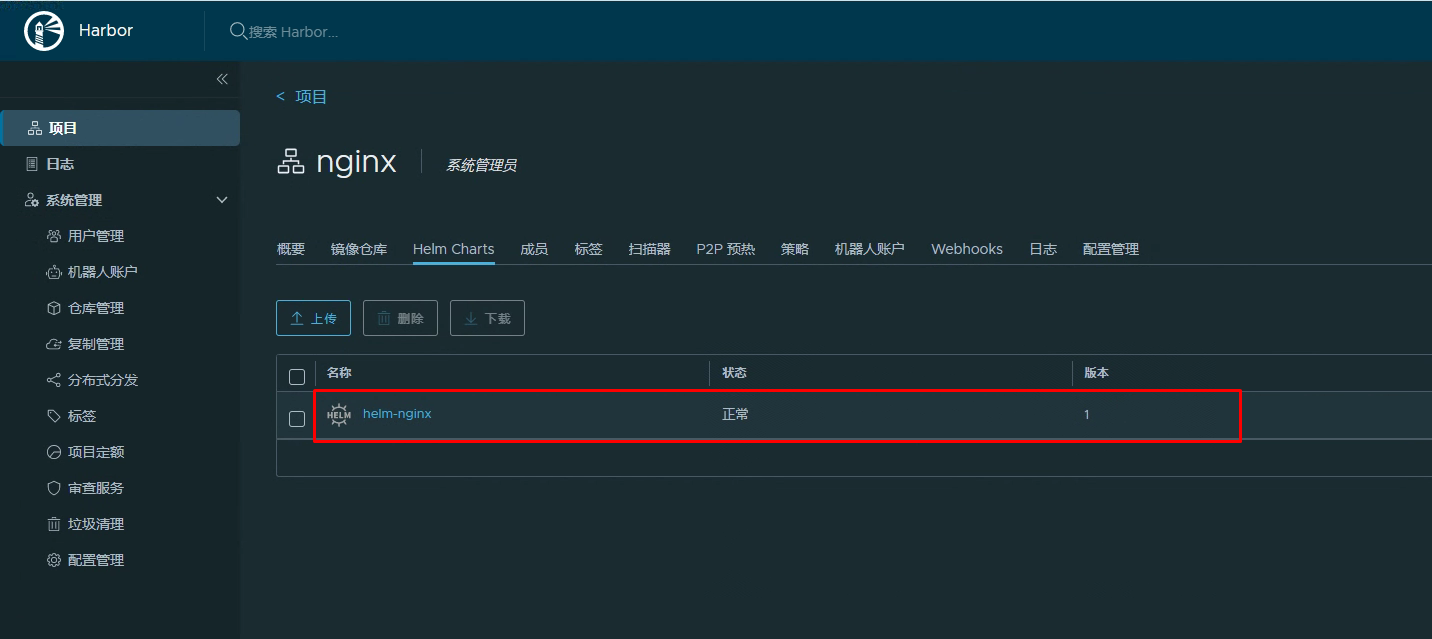
将打包应用push到harbor
1 2 3 4 5 6 7 8 9 10 11 12
[root@k8s-master01 nginx]# ls Chart.yaml templates values.yaml
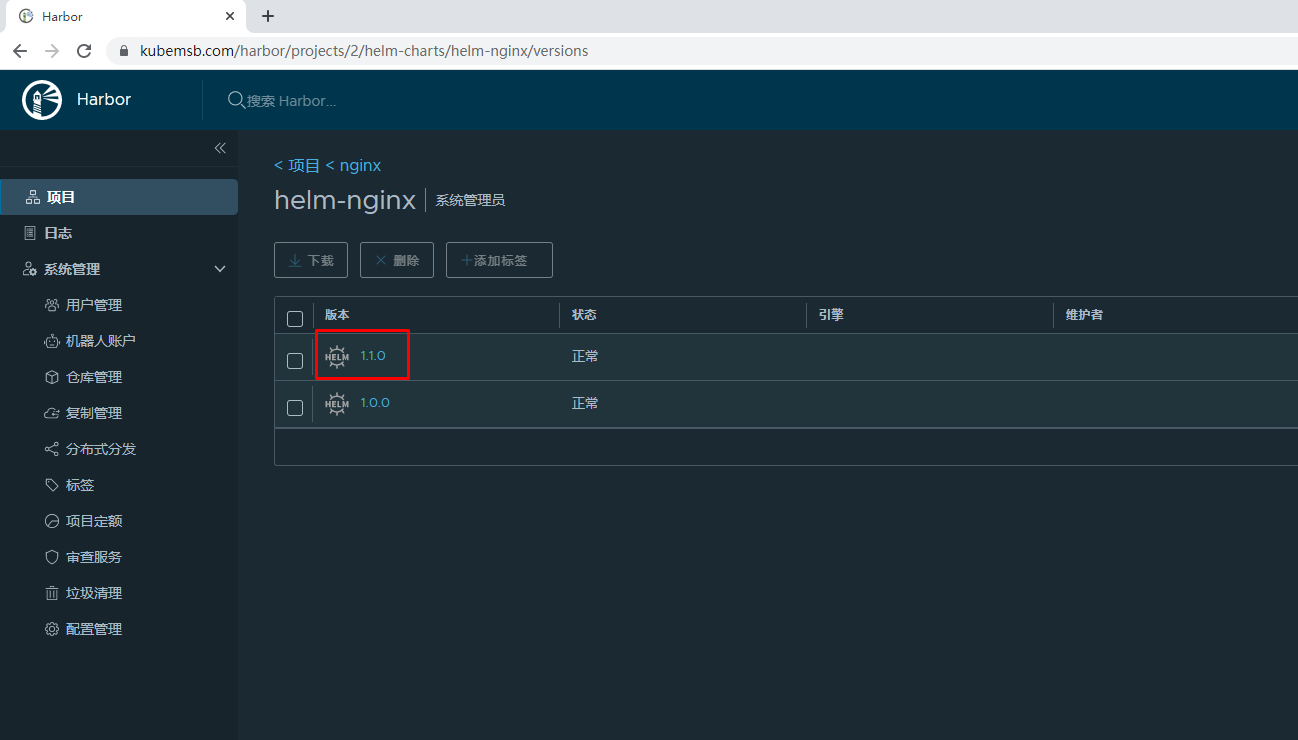
[root@k8s-master01 nginx]# vim Chart.yaml name: helm-nginx version: 1.1.0
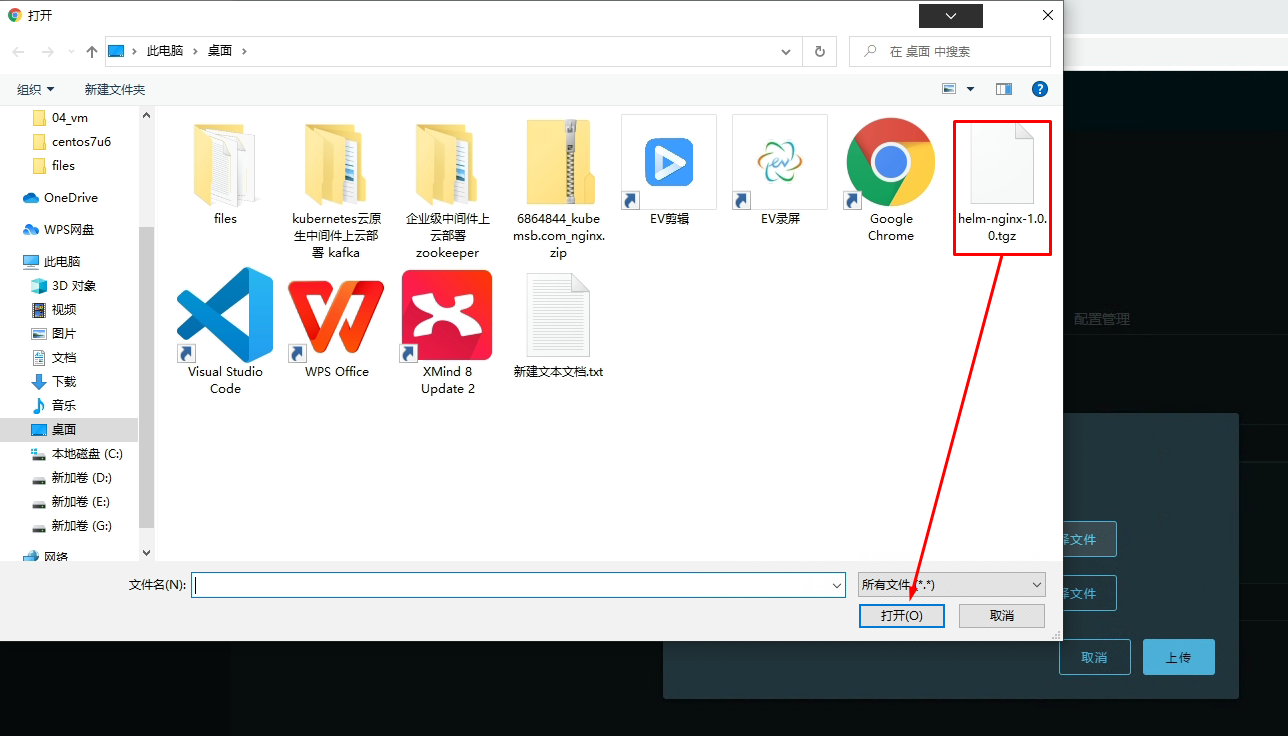
[root@k8s-master01 nginx]# helm package .
Successfully packaged chart and saved it to: /helm/nginx/helm-nginx-1.1.0.tgz [root@k8s-master01 nginx]# ls Chart.yaml helm-nginx-1.1.0.tgz templates values.yaml
1 2 3 4 5
[root@k8s-master01 nginx]# helm -h The Kubernetes package manager ... Available Commands: cm-push Please see https://github.com/chartmuseum/helm-push for usage
[root@k8s-master01 ~]# helm repo add bitnami https://charts.bitnami.com/bitnami "bitnami" has been added to your repositories
1 2 3 4 5 6
[root@k8s-master01 ~]# helm repo list NAME URL micosoft http://mirror.azure.cn/kubernetes/charts/ prometheus-community https://prometheus-community.github.io/helm-charts harborhelm https://www.kubemsb.com/chartrepo/nginx bitnami https://charts.bitnami.com/bitnami
1 2 3 4 5 6 7
[root@k8s-master01 ~]# helm repo update Hang tight while we grab the latest from your chart repositories... ...Successfully got an update from the "harborhelm" chart repository ...Successfully got an update from the "prometheus-community" chart repository ...Successfully got an update from the "micosoft" chart repository ...Successfully got an update from the "bitnami" chart repository Update Complete. ⎈Happy Helming!⎈
1 2 3
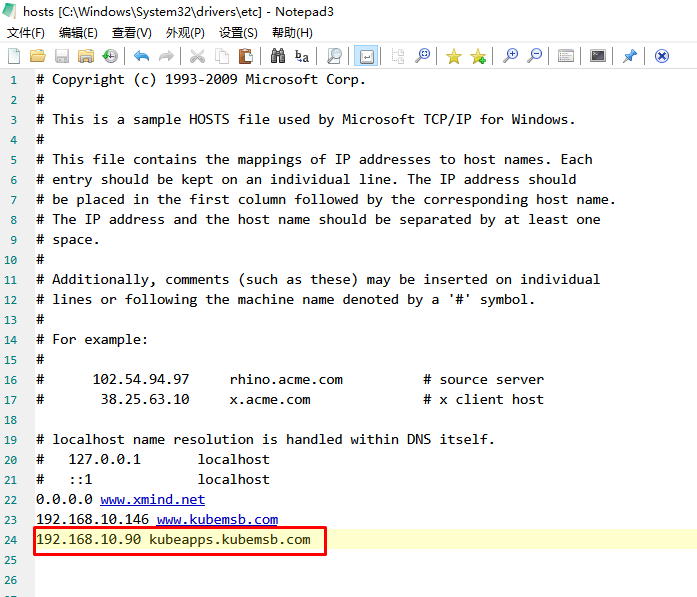
[root@k8s-master01 ~]# helm search repo kubeapps NAME CHART VERSION APP VERSION DESCRIPTION bitnami/kubeapps 10.0.2 2.4.6 Kubeapps is a web-based UI for launching and ma...
1 2
[root@k8s-master01 ~]# kubectl create ns kubeapps namespace/kubeapps created
输出信息: NAME: kubeapps LAST DEPLOYED: Sun Jul 31 00:00:03 2022 NAMESPACE: kubeapps STATUS: deployed REVISION: 1 TEST SUITE: None NOTES: CHART NAME: kubeapps CHART VERSION: 10.0.2 APP VERSION: 2.4.6** Please be patient while the chart is being deployed **
Tip:
Watch the deployment status using the command: kubectl get pods -w --namespace kubeapps
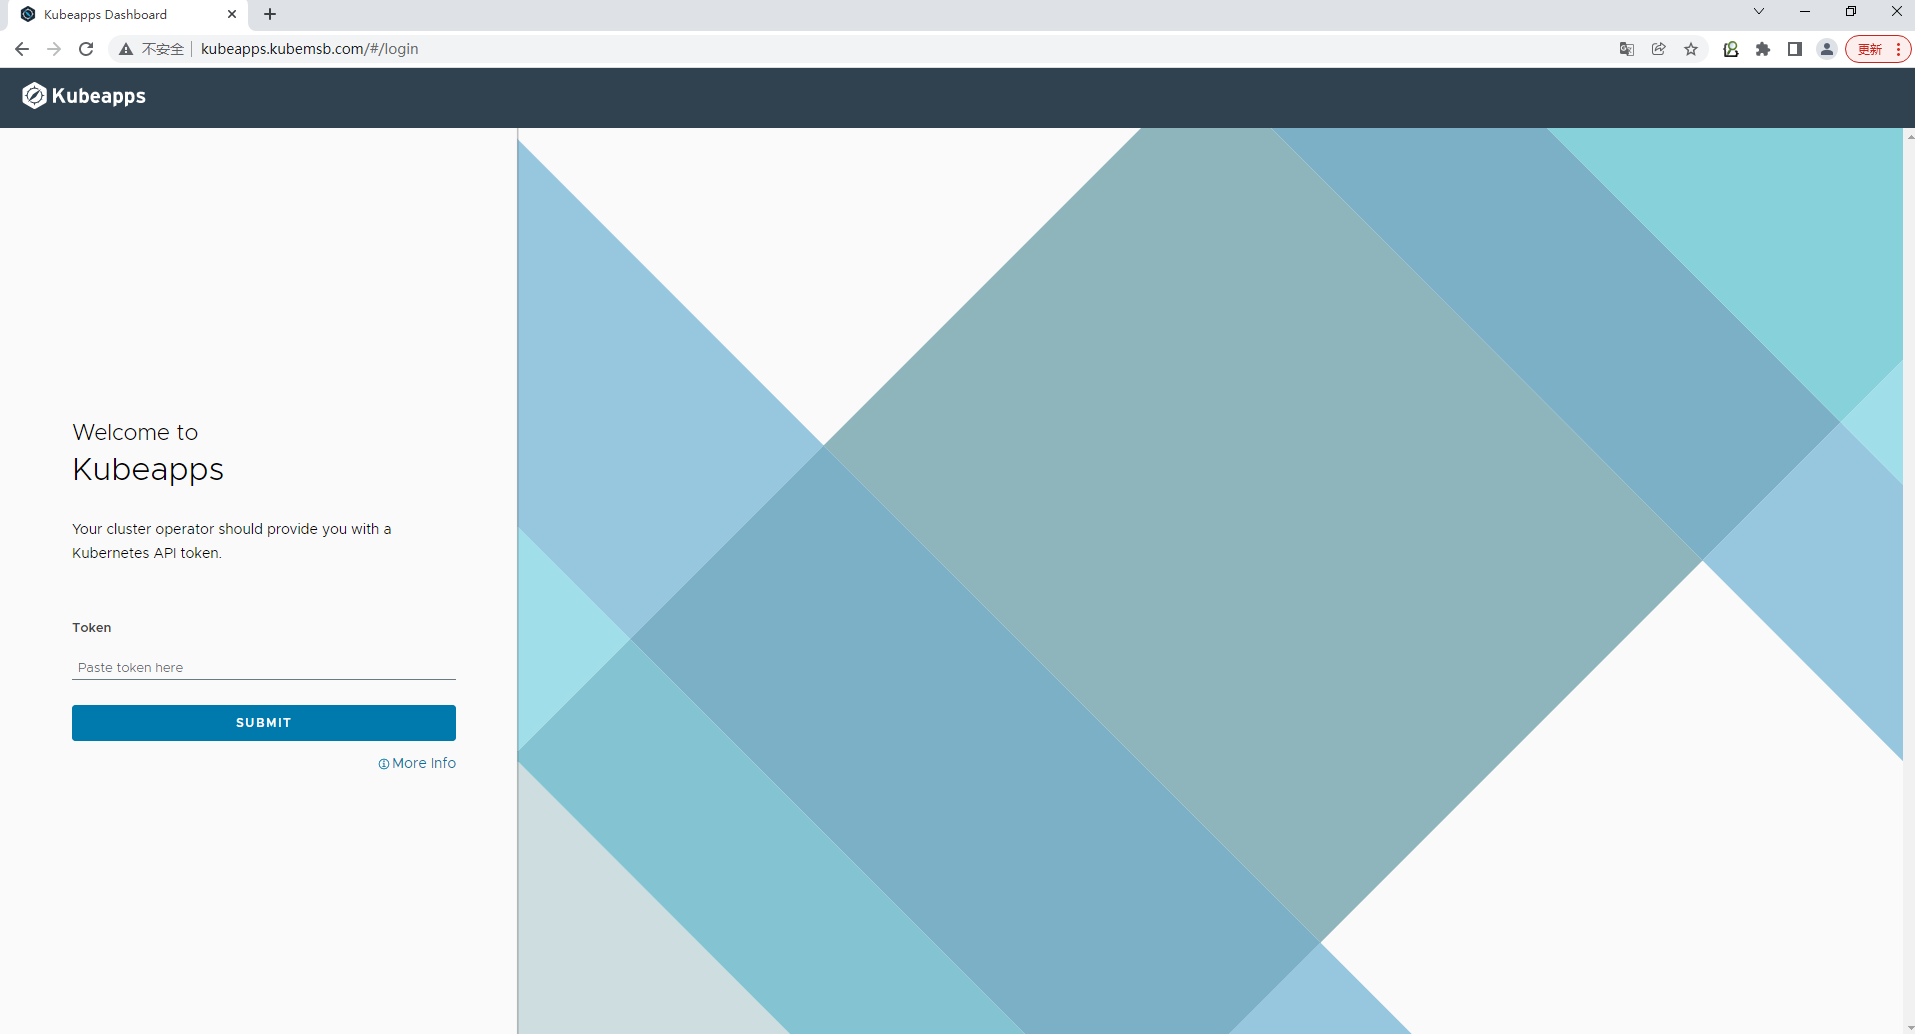
Kubeapps can be accessed via port 80 on the following DNS name from within your cluster:
kubeapps.kubeapps.svc.cluster.local
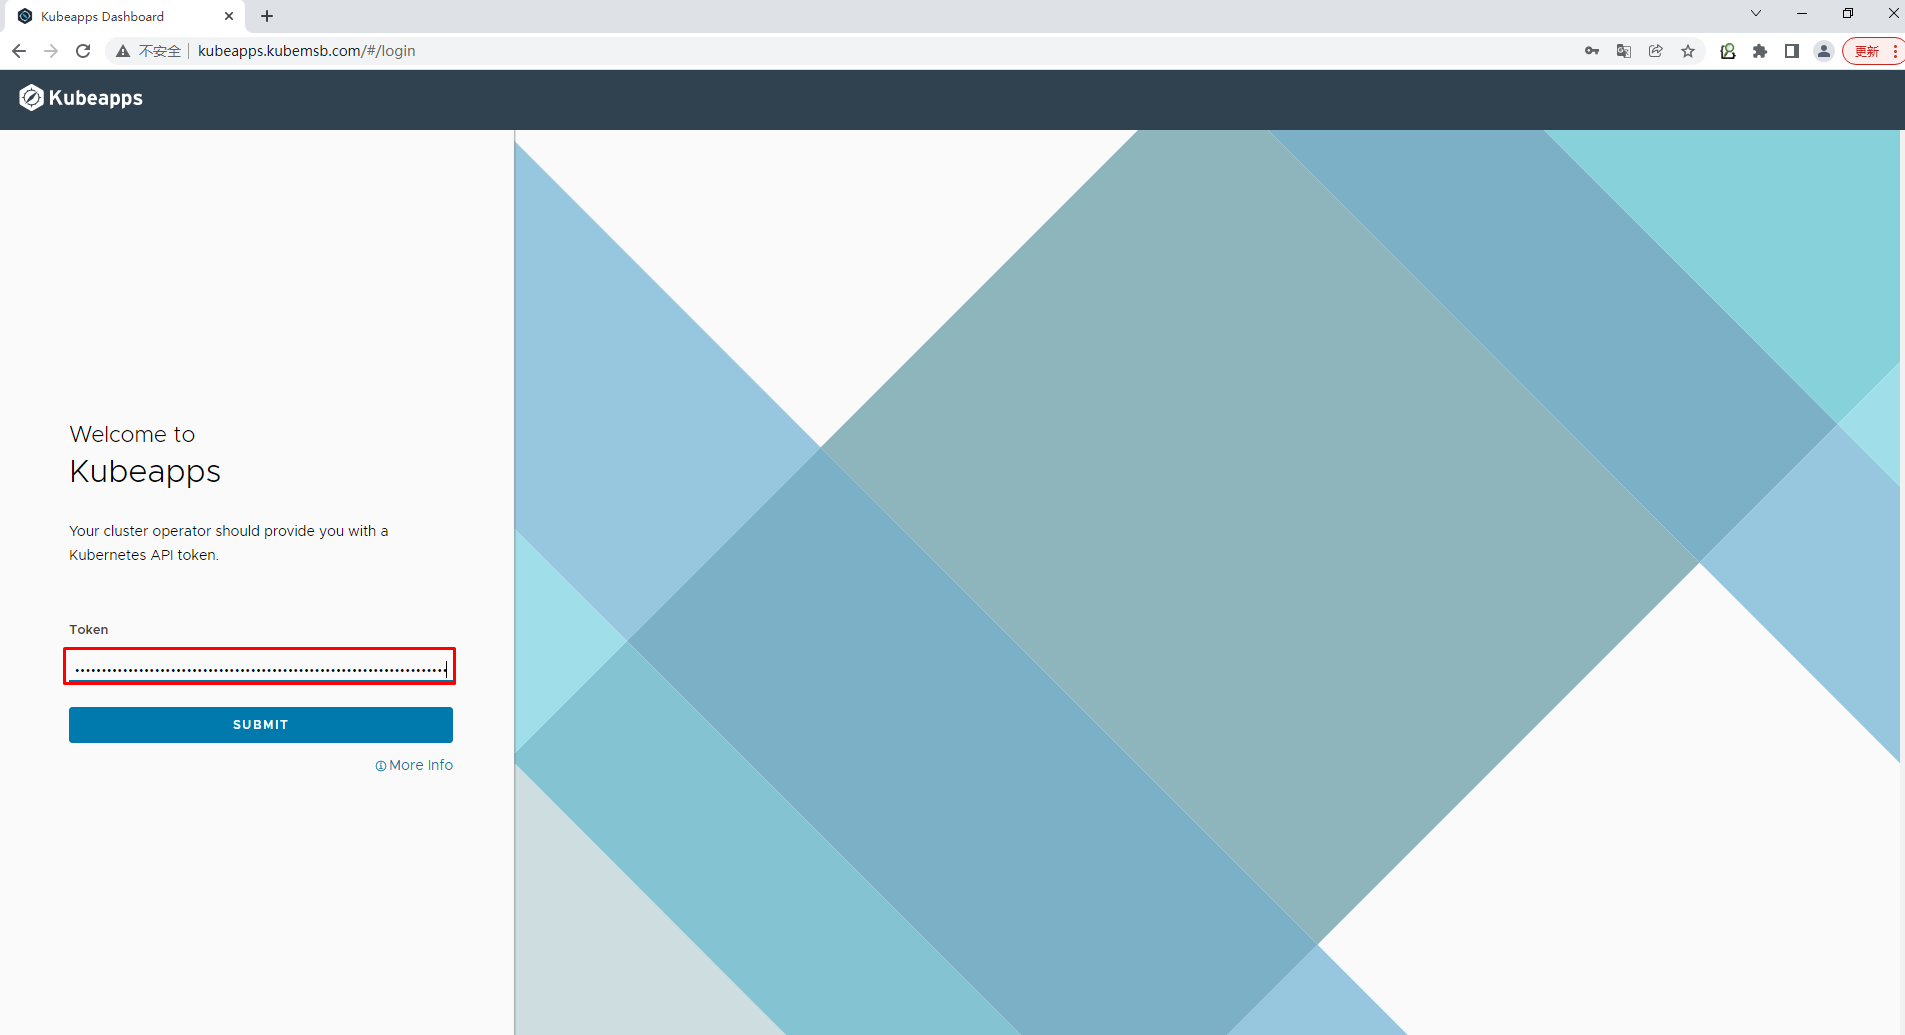
To access Kubeapps from outside your K8s cluster, follow the steps below:
1. Get the Kubeapps URL by running these commands: echo "Kubeapps URL: http://127.0.0.1:8080" kubectl port-forward --namespace kubeapps service/kubeapps 8080:80
2. Open a browser and access Kubeapps using the obtained URL.
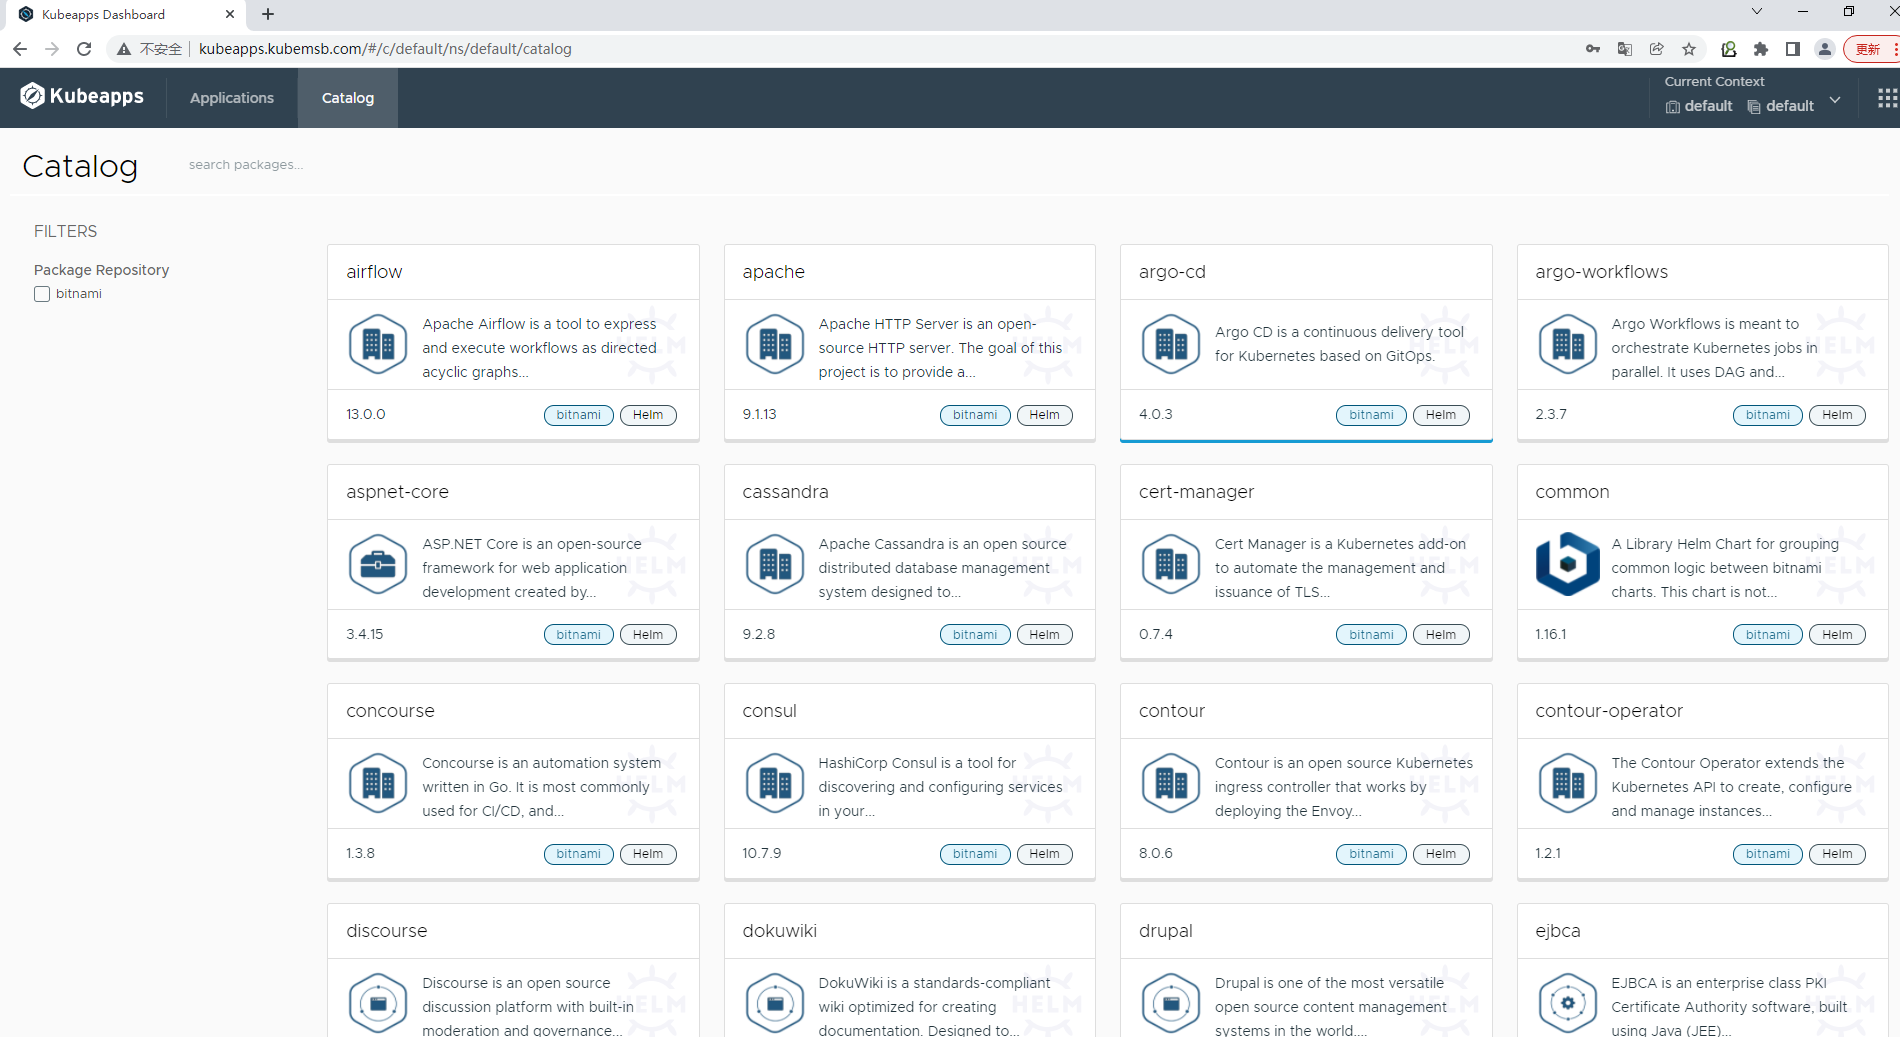
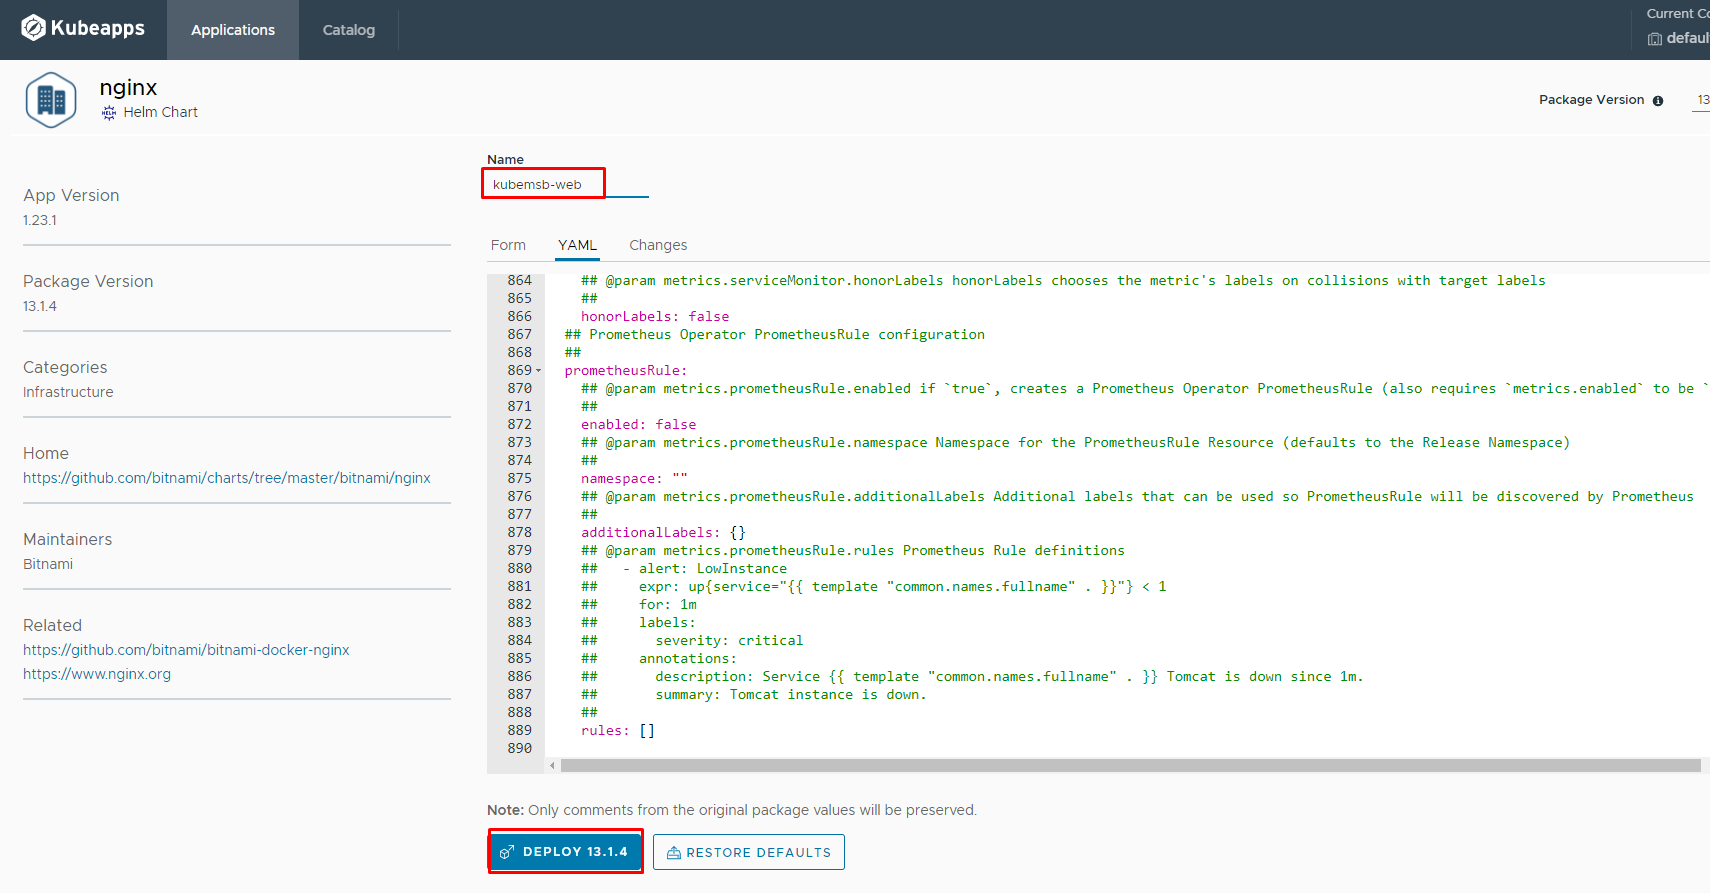
[root@k8s-master01 nginx]# kubectl get pods -n kubeapps NAME READY STATUS RESTARTS AGE ...... kubemsb-web-nginx-55fdb5bfd6-4cfpg 1/1 Running 0 57s
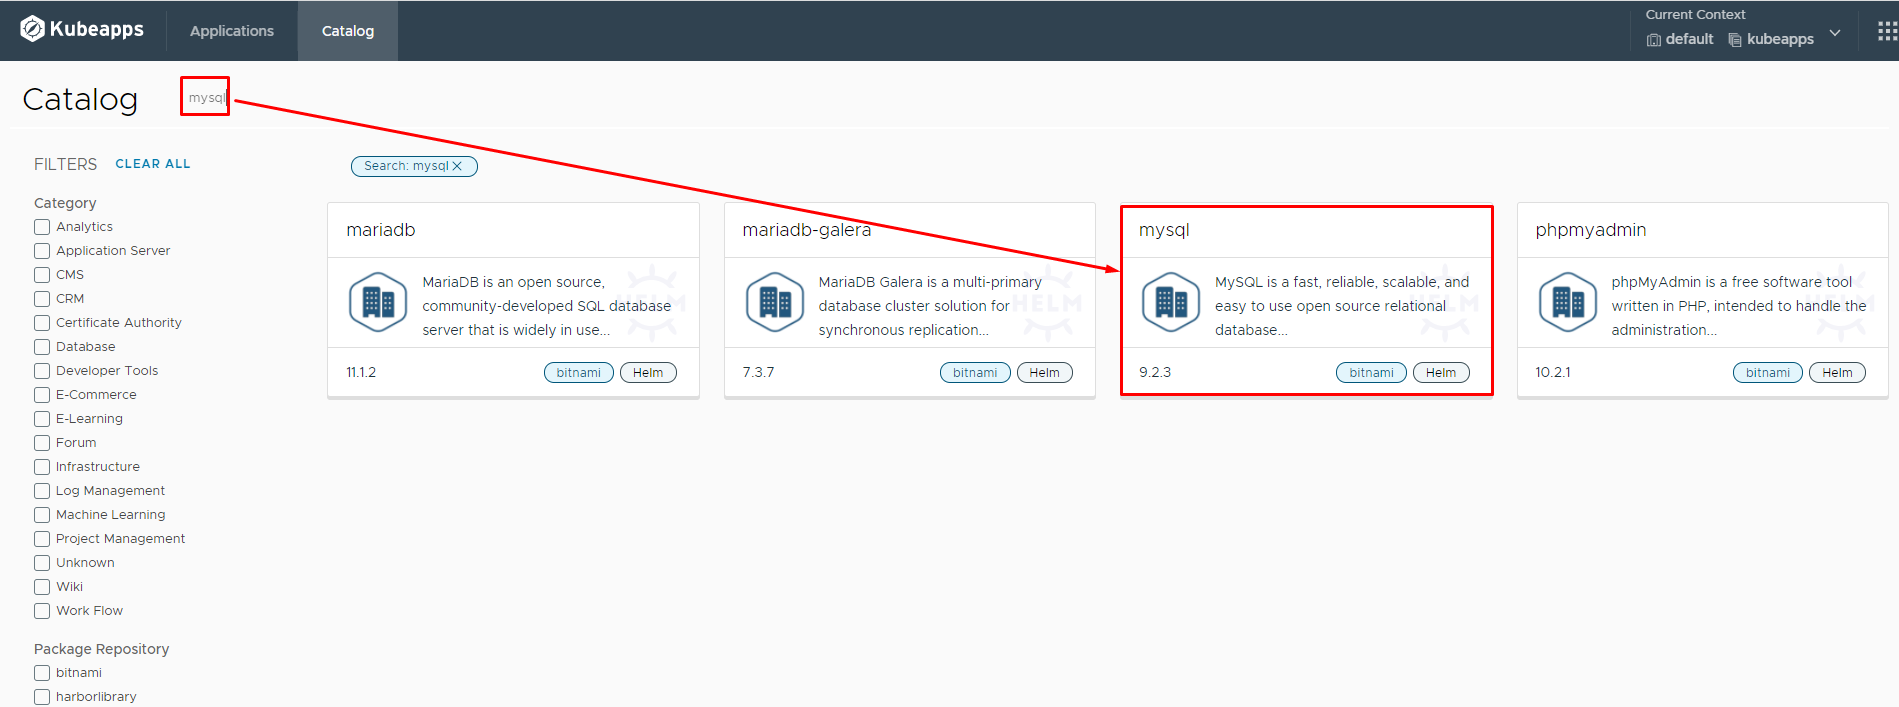
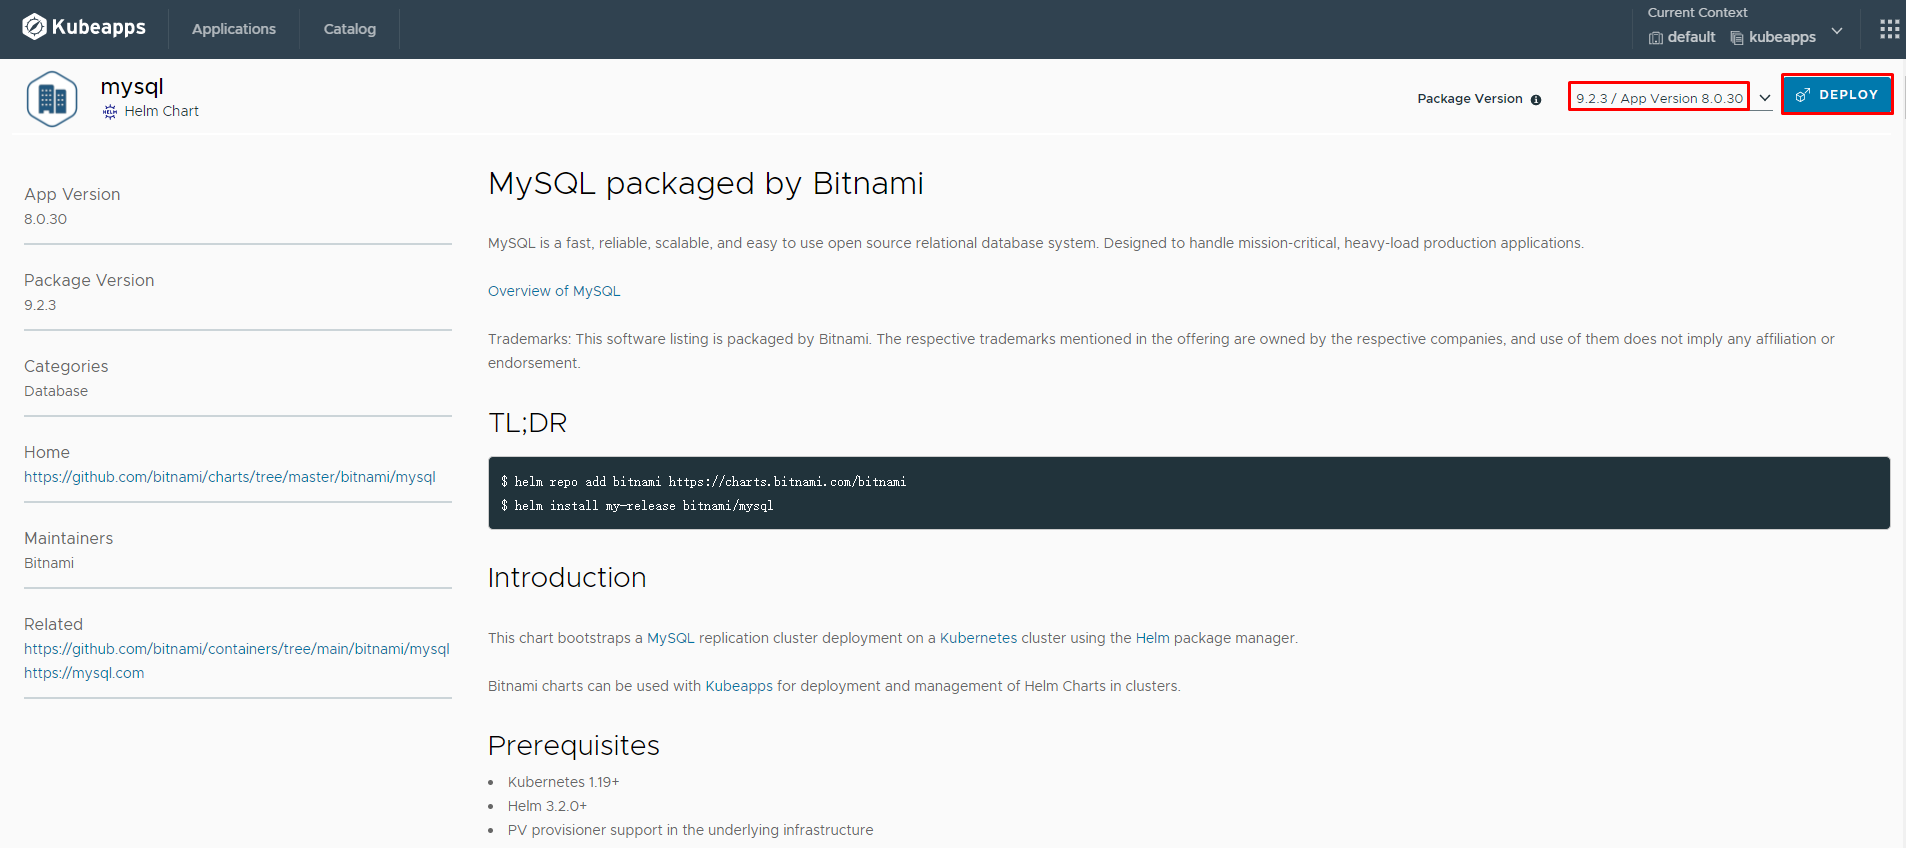
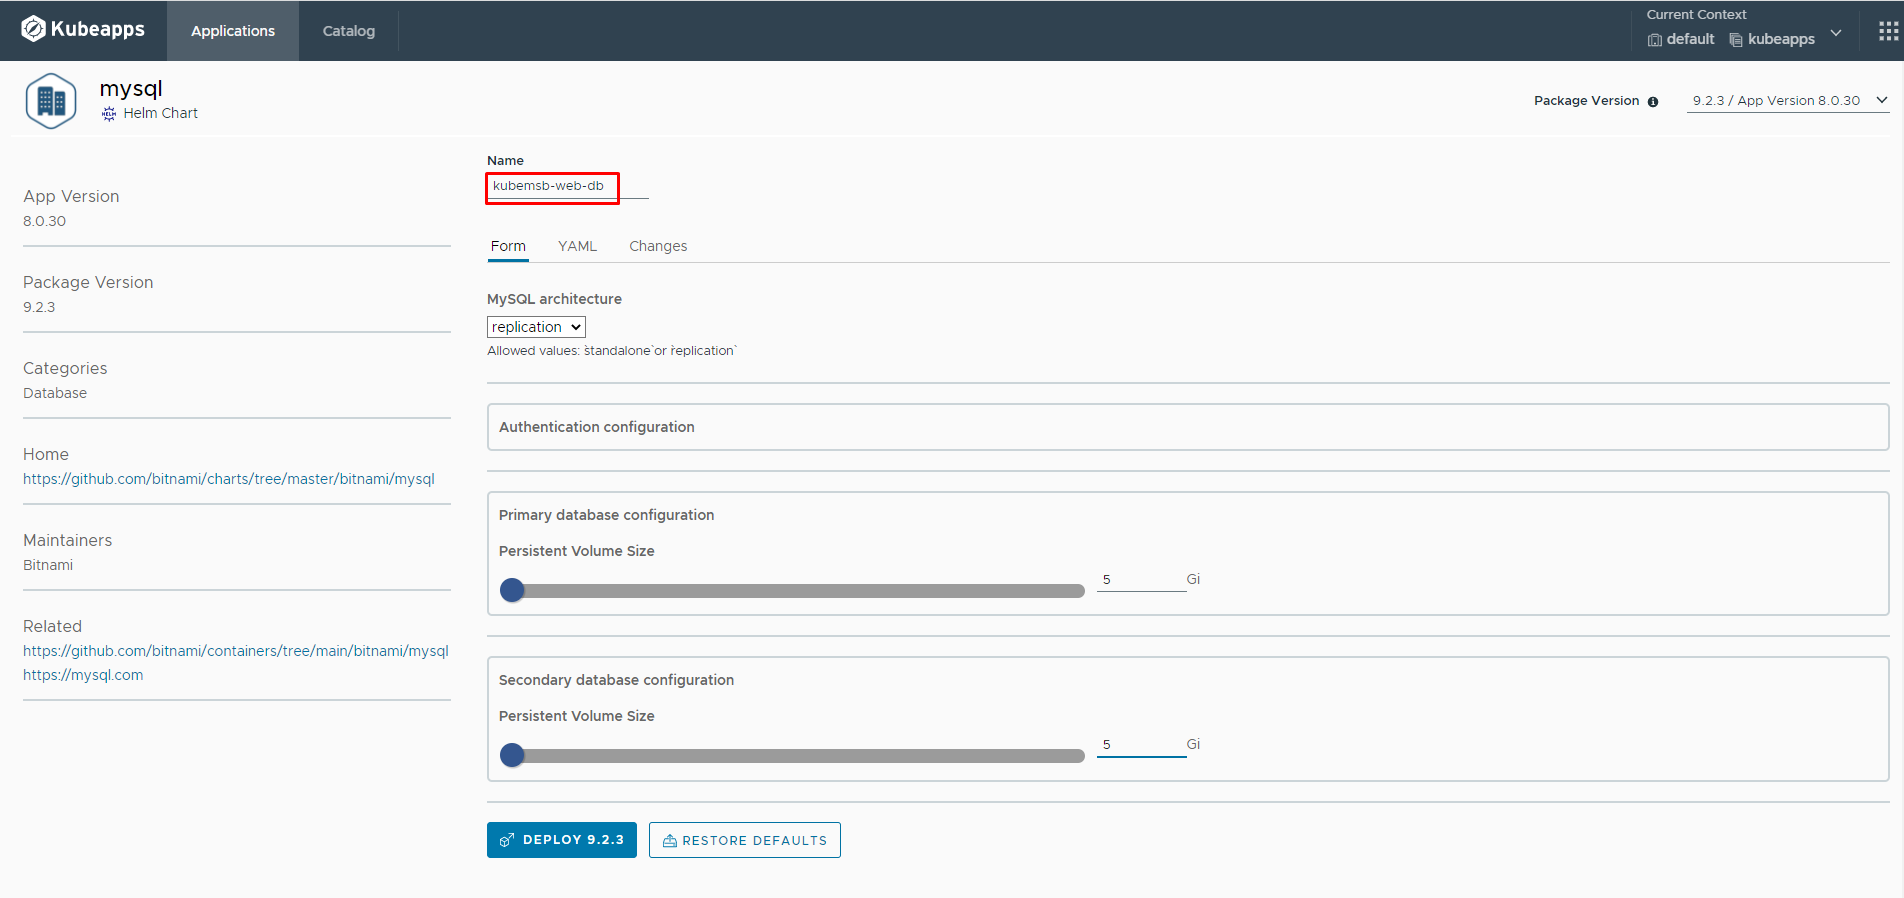
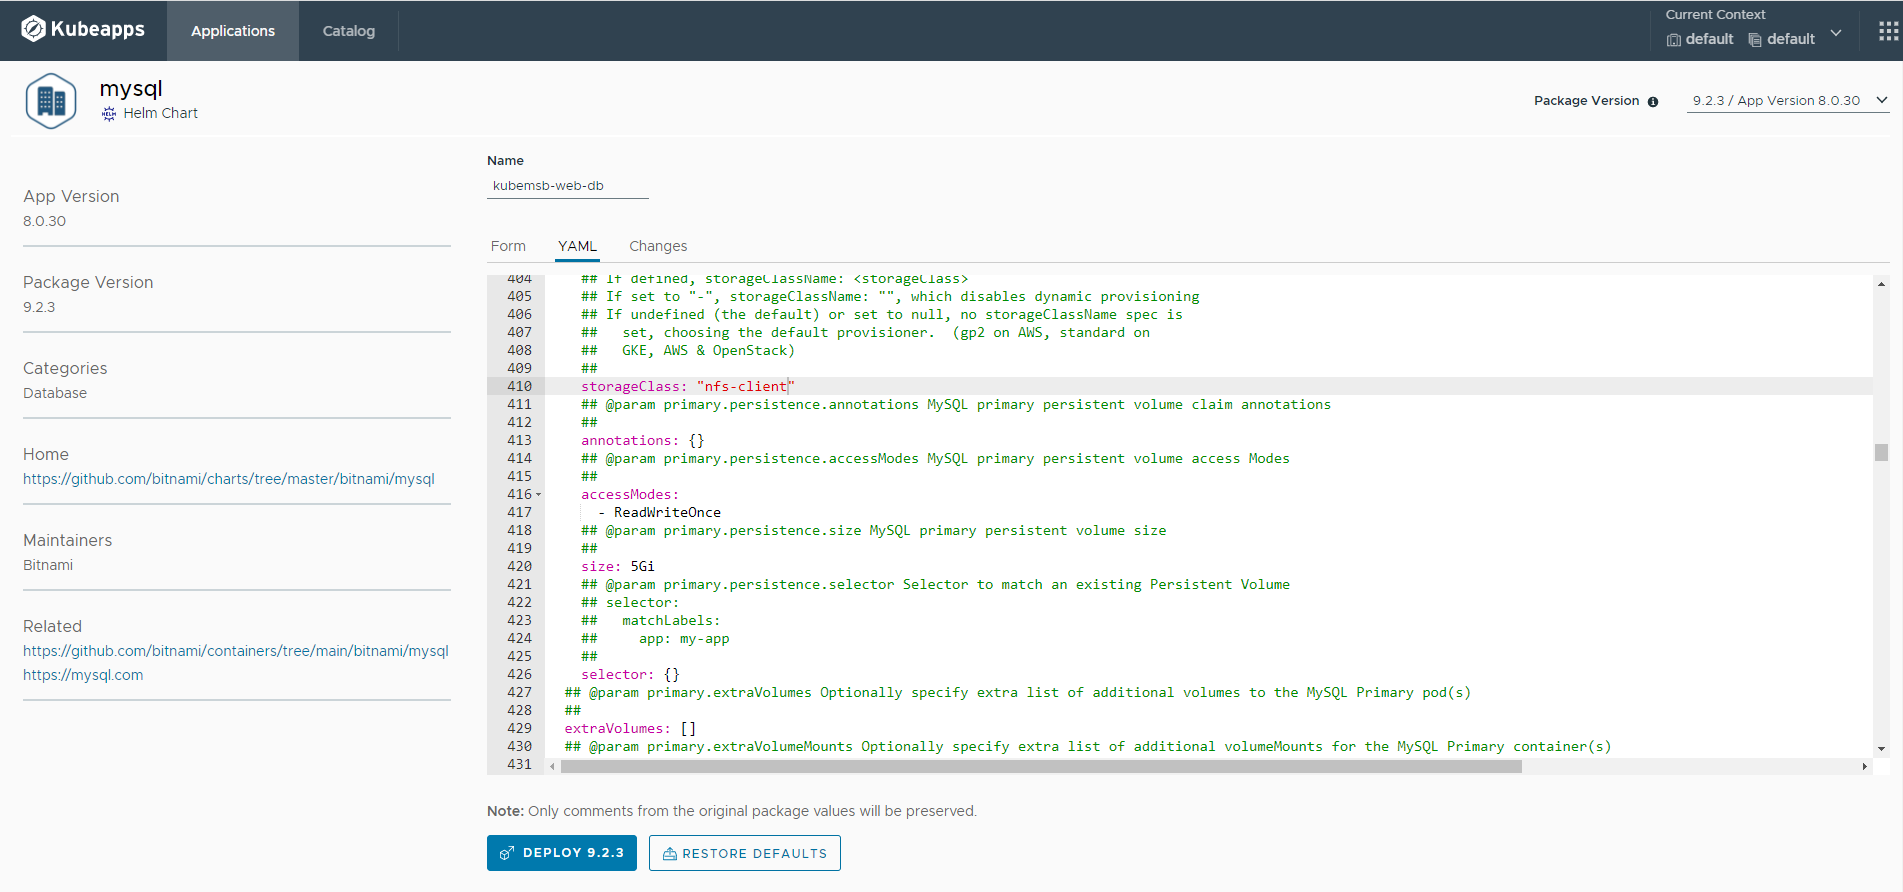
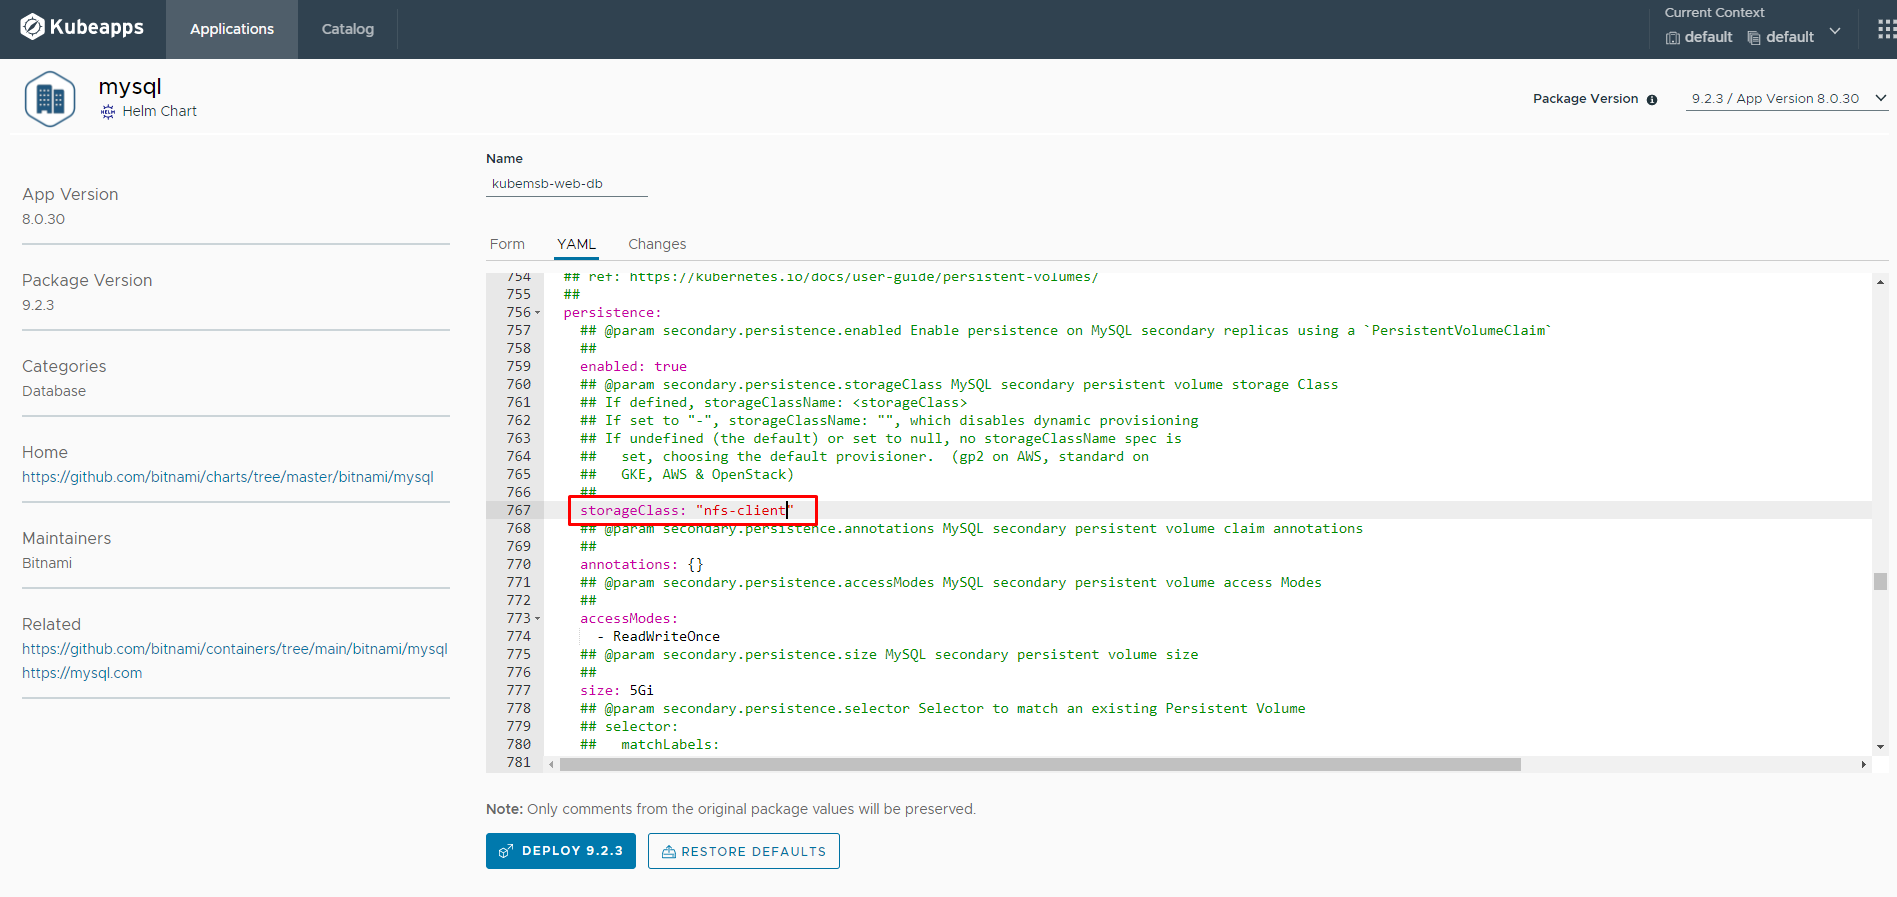
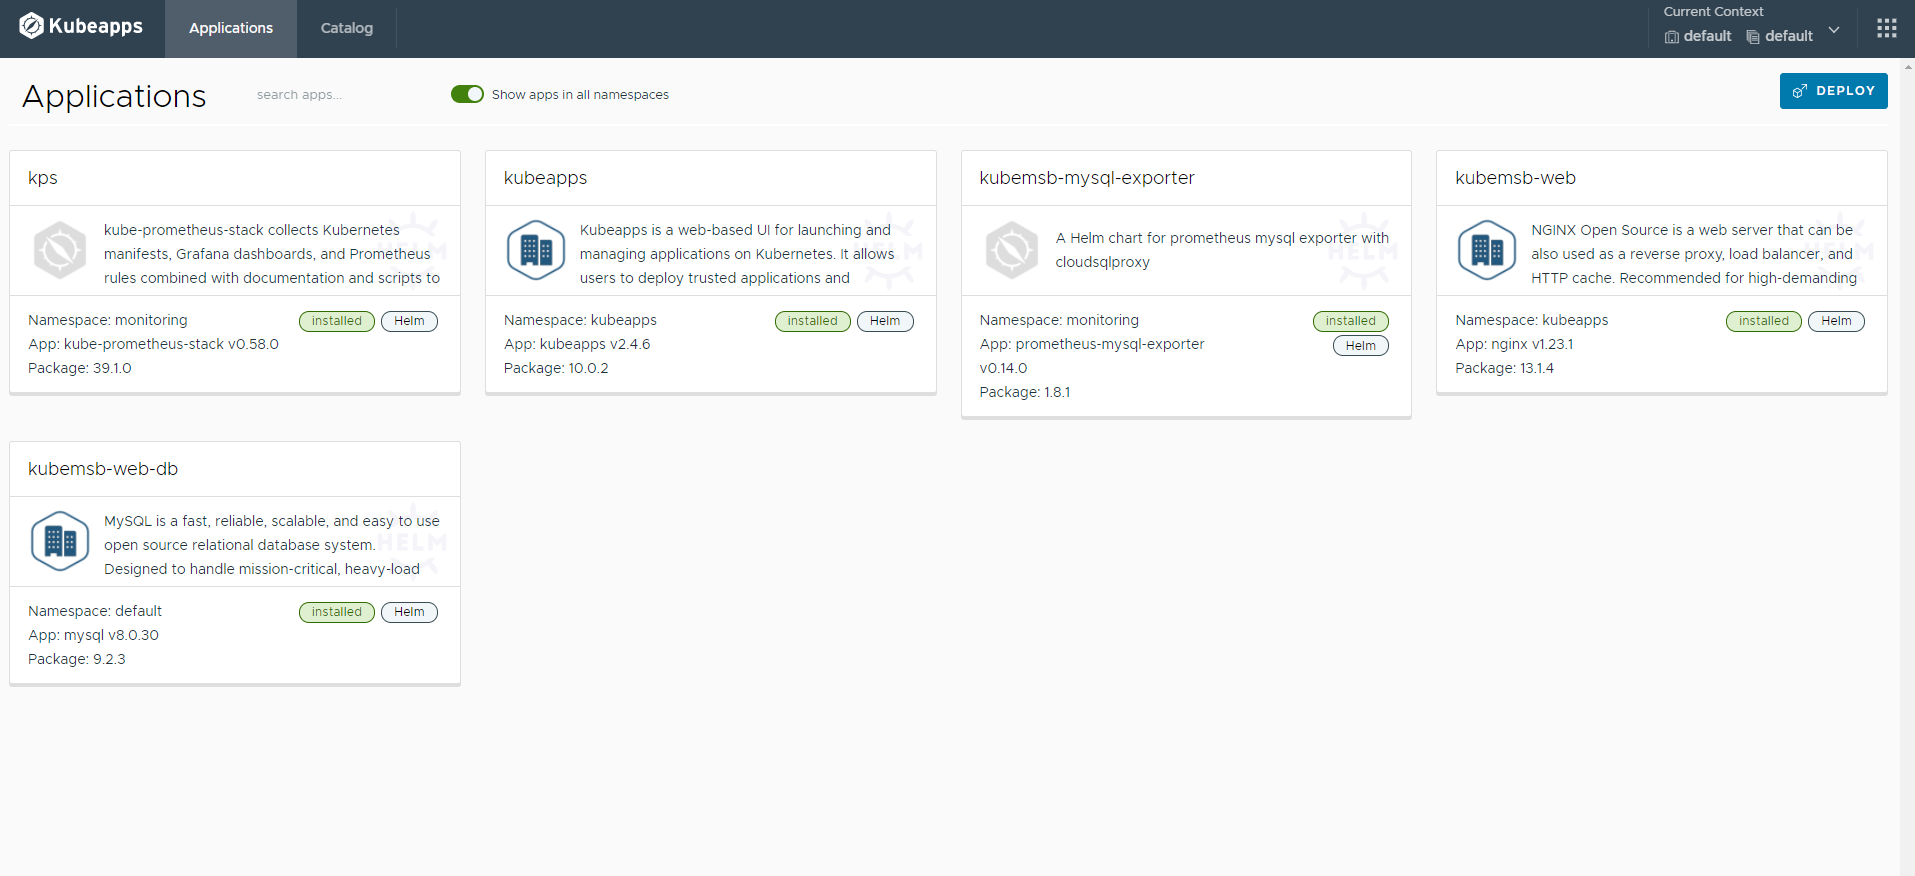
8.4.2 通过kubeapps部署mysql
snv
1 2 3 4
[root@k8s-master01 ~]# kubectl get pods NAME READY STATUS RESTARTS AGE kubemsb-web-db-mysql-primary-0 1/1 Running 0 5h29m kubemsb-web-db-mysql-secondary-0 1/1 Running 0 5h29m